How to Calibrate Your TV for the Best Picture Quality
27 October 2025
Have you ever sat down to binge your favorite show and thought, “Why does this picture look kind of... off?” Maybe the colors feel a bit too saturated, the shadows too dark, or everything just looks strangely flat. Don’t worry—you’re not imagining things. Most TVs, straight out of the box, aren’t set up for optimal picture quality. They're designed to look good under bright store lights, not in your cozy living room.
The good news? You don’t need to be a tech wizard to make your picture pop. With a few easy tweaks, you can calibrate your TV to dramatically improve your viewing experience. In this guide, we’re going to walk you through how to calibrate your TV for the best picture quality—from the super simple to the slightly more advanced stuff. Ready? Let’s jump in.
Why Calibrate Your TV Anyway?
Before we get knee-deep in settings, let’s talk about why calibration even matters.Imagine buying a brand-new pair of glasses, but the lenses are too strong or tinted the wrong color. Sure, you can still technically “see,” but everything’s just a bit... off. That’s what watching an uncalibrated TV is like.
TV manufacturers often crank up brightness and color saturation to make their displays stand out in stores. This “showroom mode” might grab your attention at Best Buy, but at home, it can make skin tones look orange, shadows disappear into darkness, and bright scenes feel unnaturally harsh. Calibrating your TV helps bring everything back to how it was meant to be seen—natural, balanced, and pleasing to the eye.
Step 1: Choose the Right Picture Mode
Alright, let’s start with the easiest change you can make: selecting the right picture mode.When you open your TV’s settings, you’ll likely see options like these:
- Standard
- Vivid (or Dynamic)
- Cinema (or Movie)
- Sports
- Game
So, which one should you choose?
Go with Cinema or Movie mode. It’s the one that’s closest to professional calibration right out of the box. These modes aim to display colors and contrast more accurately than the overly bright and punchy Vivid mode.
Game mode is great when you’re gaming since it reduces input lag, but for movies and shows? Cinema is your best bet.
Step 2: Adjust Brightness and Contrast
Here’s where we start fine-tuning.Brightness (aka Black Level)
This setting actually affects how dark the dark parts of the screen will be. Too high? Blacks look gray. Too low? You lose detail in shadows.Quick tip: Pull up a dark scene from a movie (anything from Batman will do). Then, adjust the brightness up and down. Stop when you can just barely make out the details in the shadows without the blacks looking washed out.
Contrast (aka White Level)
Contrast controls how bright the lightest parts of the image get. If it's too high, you’ll lose detail in bright spots. If it's too low, the image looks flat.What to do: Find a bright scene—maybe someone wearing a white shirt on a sunny day. Adjust contrast until you can see folds and texture in the shirt without it glowing like a light bulb.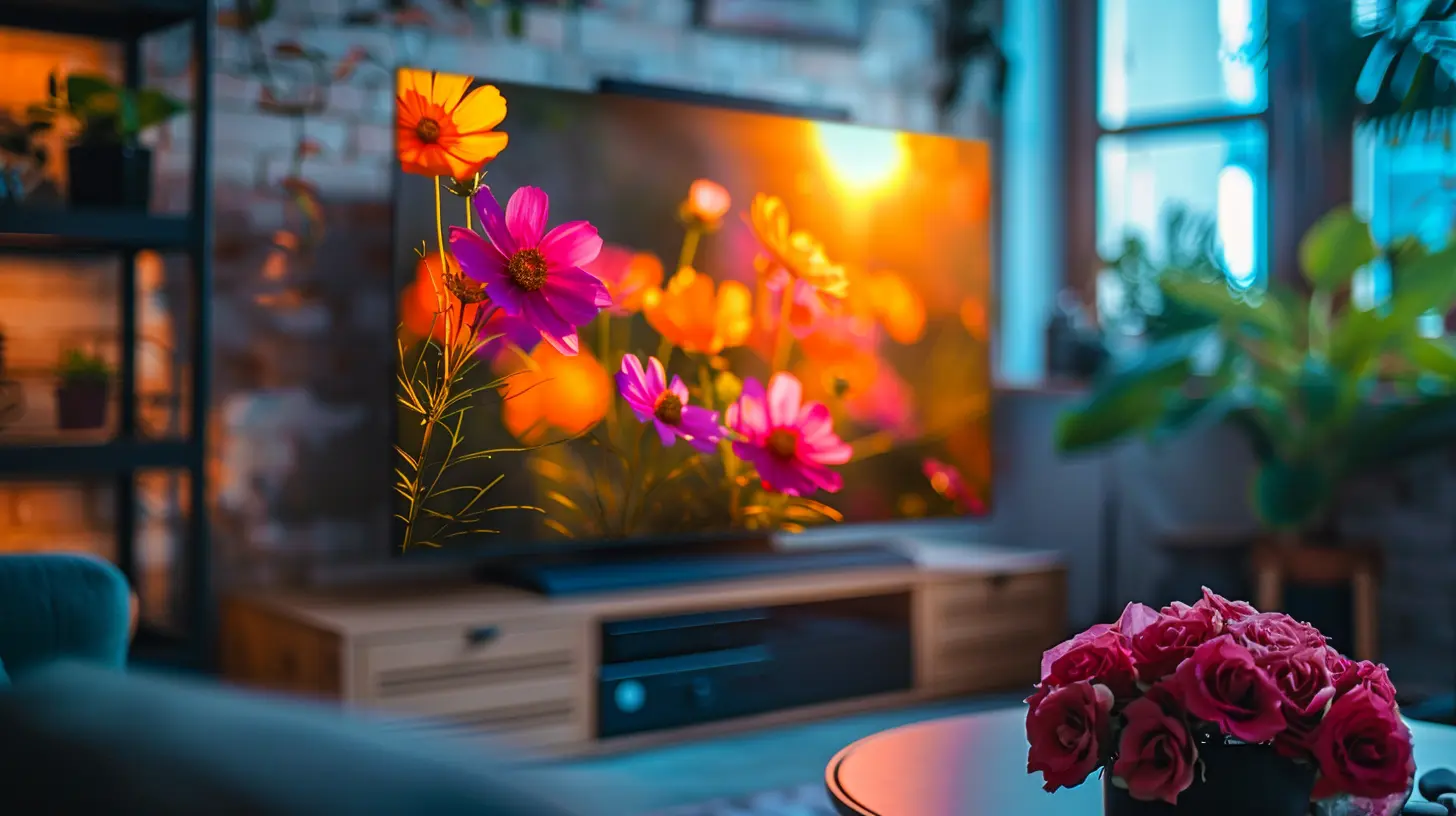
Step 3: Tweak Color and Tint
Color (Saturation)
This adjusts how much color you’re seeing. Too much, and everything looks like a cartoon. Too little, and it’s dull and lifeless.Pull up something with natural human skin tones. Look for a face you recognize or a scene with a lot of variation in color. Now, bring the saturation up and down until the face looks... well, human—not sunburned or ghost-like.
Tint (Hue)
This shifts the image between green and red tones. Honestly? You probably won’t need to mess with this one too much. If people are starting to look sickly or flushed, you can gently adjust it, but most TVs have this one close to right by default.Step 4: Sharpness Isn’t What You Think
Sharpness seems like a no-brainer, right? Crank it up, make things crisp?Well, not quite.
That sharpness control doesn’t actually make your image sharper—it adds edge enhancement, which can lead to strange halos around objects and make the picture look fake.
Best practice? Turn sharpness down. Like, way down. In many cases, setting it around 10–20% (or even 0!) gives you a much more natural image.
Step 5: Get the Right Color Temperature
Color temperature impacts how “warm” or “cool” the colors on your screen appear. Think of it like the lighting in your home—some bulbs give off a warm, yellow light while others are more blue and sterile.Your TV will probably offer options like:
- Cool
- Standard
- Warm1 or Warm2
Choose Warm1 or Warm2. These are closer to industry standards and make skin tones look more realistic. Cool settings might seem crisp, but they can actually wash out colors and make whites look bluish.
Step 6: Turn Off Unnecessary Features
Modern TVs come crammed with fancy-sounding features. Motion smoothing, noise reduction, dynamic contrast... but sometimes less is more.Motion Smoothing
This one is notorious. Also known as "the soap opera effect," motion smoothing tries to make fast-moving scenes look smoother by inserting extra frames. But it can make movies look weird and unnatural.Turn it off. Trust us. Directors hate it, and so will you once you realize what it’s doing.
Dynamic Contrast & Noise Reduction
These settings sound helpful, but they often mess with your picture in real-time, making it inconsistent.Pro tip: Disable them. You want a stable, consistent image—not one your TV is tweaking every second.
Step 7: Use Calibration Test Patterns
Okay, now we’re getting fancy. If you want to dial it in like a pro, use calibration test patterns. These are specific images or videos designed to help you set up your brightness, contrast, and color levels with precision.You can find test patterns on:
- Calibration Blu-rays (like Spears & Munsil)
- YouTube channels offering 4K test patterns
- Streaming platforms (just search “TV calibration test patterns”)
These patterns help you find that sweet spot with visual targets—so you're not just guessing.
Step 8: Optional – Professional Calibration Tools
If you really want to go next-level, you can pick up a calibration tool called a colorimeter. This connects to your TV and your computer, measures your display’s output, and automatically configures your settings for perfect accuracy.Some popular tools include:
- X-Rite i1Display Pro
- Datacolor SpyderX
These are awesome—but not essential for most people. Think of them as the espresso machine of TV calibration. Great if you’re chasing perfection, but not necessary if you're just trying to make Netflix look better.
Step 9: Don’t Forget About Your Room
Yup, your room matters too. Ambient light, wall color, even the position of your TV can all affect how the picture looks.Here are some tips to make your calibration really shine:
- Dim the lights when watching. Too much light dilutes contrast.
- Avoid direct reflections on the TV screen—it’ll mess up black levels.
- Neutral-colored walls prevent color cast on the screen. White or gray is ideal.
- Position your screen at eye level and centered for the best angle.
Step 10: Save Your Settings and Recalibrate Occasionally
Once you've nailed your TV settings, make sure you save them. Many TVs allow you to customize and save settings for different inputs (e.g., HDMI 1 for your Xbox, HDMI 2 for your Blu-ray player).Also, keep in mind—TVs age. Panels shift slightly over time, and software updates can reset or affect your settings. It’s a good idea to recalibrate about once a year or after any major update.
Common Calibration Mistakes to Avoid
Let’s wrap up with a few “don’ts” so you don't fall into common traps:- Don’t blindly copy online settings. Your room and TV model are unique. Use them as a starting point, not the final word.
- Don’t calibrate with extreme content. Use average, well-lit scenes—not stylized movies or heavily edited YouTube videos.
- Don’t ignore your own eyes. Ultimately, the best calibration is the one that looks best to you. If your calibrated screen feels too dim, bump it up slightly. Trust your instincts!
Final Thoughts
Calibrating your TV might seem like a chore, but honestly, it’s kind of like seasoning a meal just right. You take something already good—and make it great. You don’t need expensive gear or hours of research. Just a bit of patience, some test scenes, and your own two eyes.So next time you sit down for a movie night, you’ll be enjoying it exactly the way the creators intended—with rich color, perfect shadows, and no soap-opera effect in sight.
Happy viewing!
all images in this post were generated using AI tools
Category:
Home EntertainmentAuthor:

Pierre McCord
Discussion
rate this article
1 comments
Maxwell Gomez
Great article on TV calibration! Your step-by-step guide makes it accessible for everyone, from beginners to enthusiasts. I particularly appreciated the tips on adjusting brightness and contrast for optimal viewing. Proper calibration can truly enhance the viewing experience—can't wait to try these techniques on my own TV!
October 27, 2025 at 4:53 AM

Pierre McCord
Thank you for your kind words! I'm glad you found the guide helpful and accessible. Enjoy calibrating your TV and enhancing your viewing experience!
