How to Overclock Your Graphics Card Safely for Boosted Performance
11 November 2025
If you're a gamer, a content creator, or just someone who loves to push their hardware to the max, you've probably heard of overclocking. Overclocking your graphics card (GPU) can give you a noticeable boost in performance, allowing you to squeeze more frames per second (FPS) out of your favorite games or cut down rendering times in demanding software.
But here's the thing: overclocking can be a little daunting, especially if you're worried about frying your expensive GPU. The good news? With modern tools and a few precautions, overclocking your GPU is not only safe but also surprisingly straightforward.
In this article, we'll guide you through the steps of safely overclocking your graphics card to get that sweet performance boost without risking any damage. So grab your mouse, and let's dive right in!
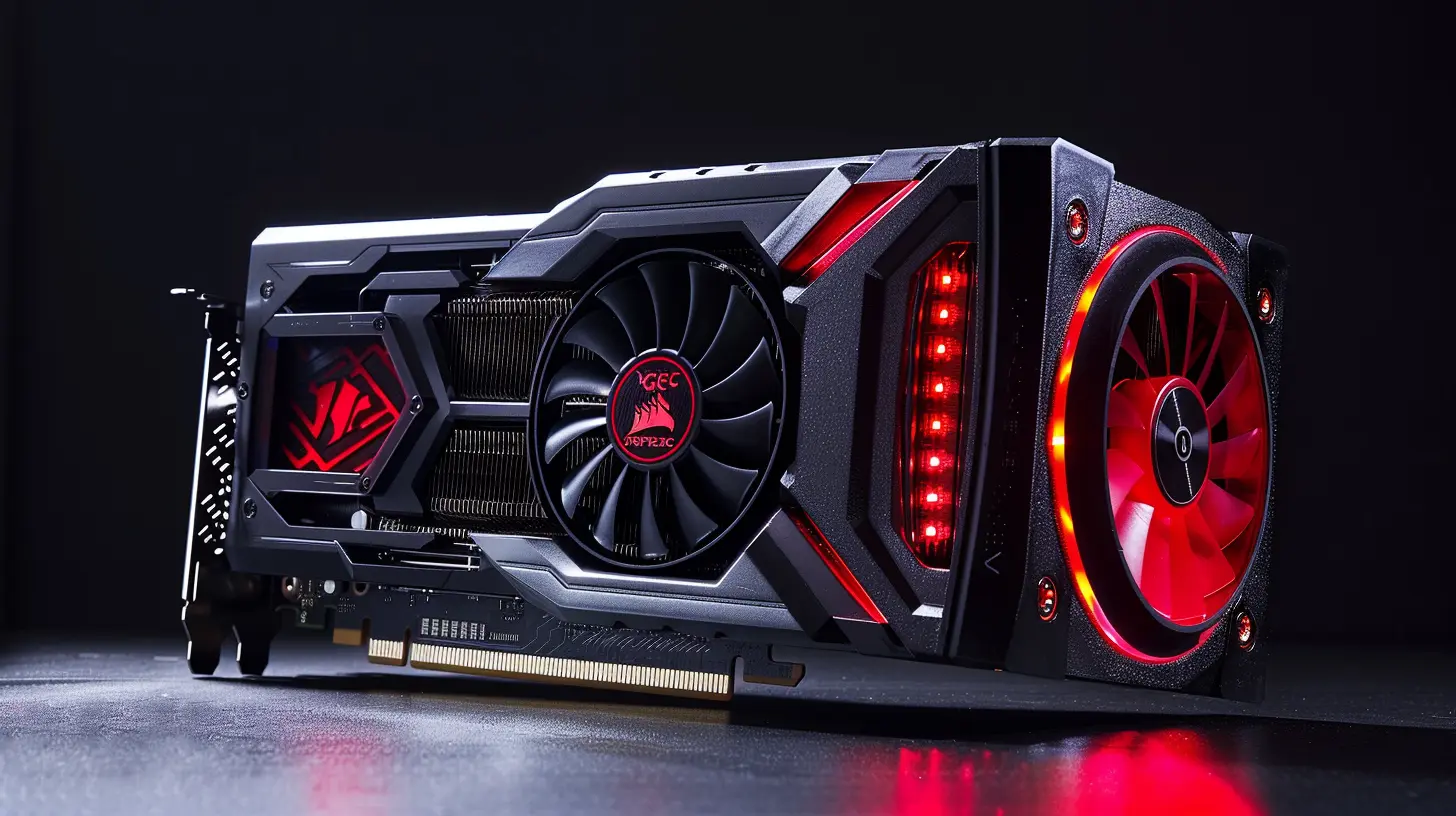
What Is Overclocking?
Before we get our hands dirty, let's cover the basics. Overclocking is the process of increasing the clock speed of your GPU beyond its factory settings. Think of it like revving your car's engine to go faster. By boosting the clock speed, your GPU can process more data in less time, improving overall performance.However, just like revving that car engine too hard could lead to overheating, overclocking can cause your GPU to run hotter than usual. This is why having a good cooling solution and following safe overclocking practices is crucial.
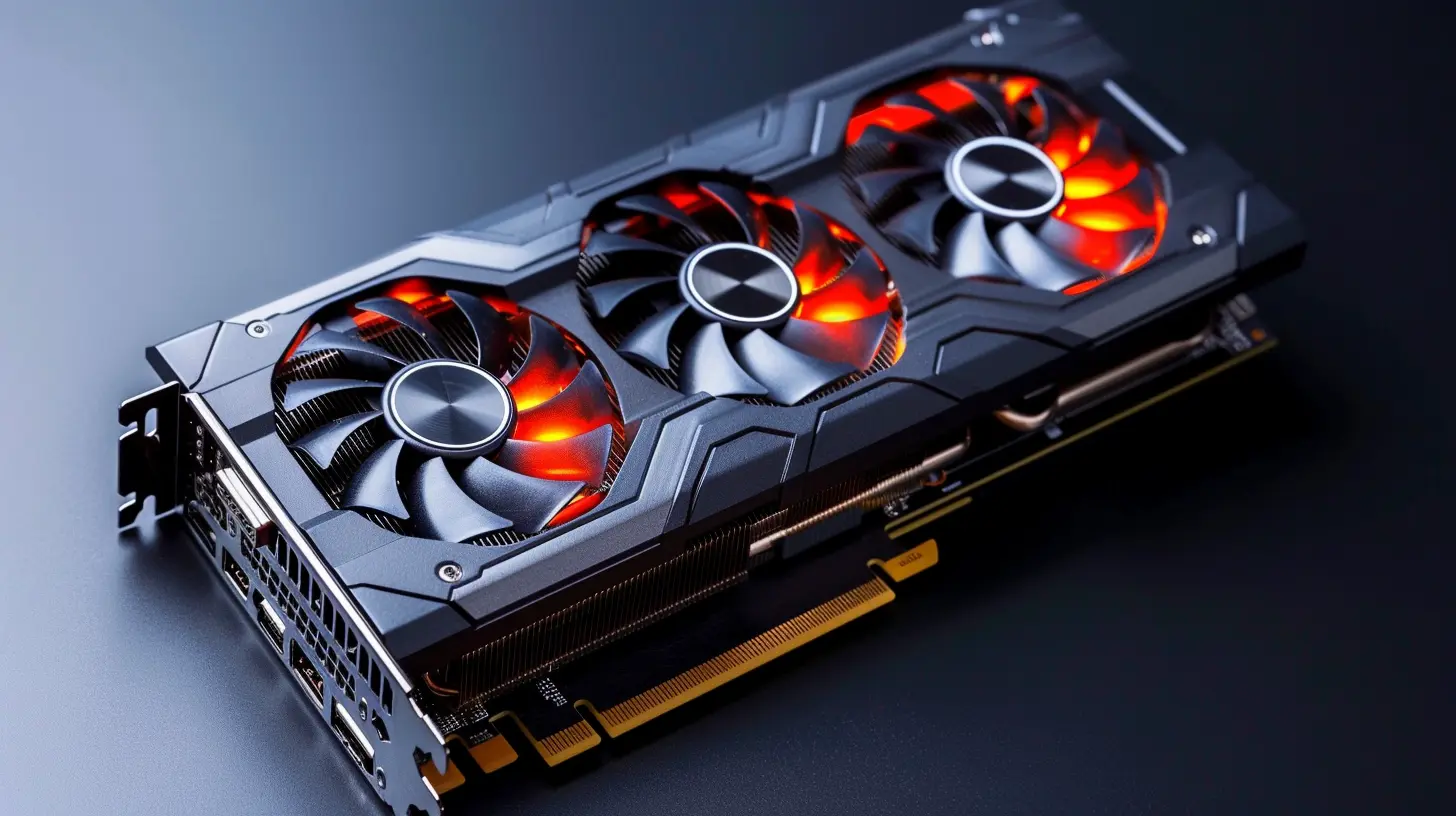
Is Overclocking Safe?
You might be wondering, "Is overclocking my GPU going to turn it into a smoking pile of silicon?" The short answer is: No, not if you do it right.Modern GPUs are designed with safeguards to prevent catastrophic damage. They come with built-in thermal throttling, which means if your GPU gets too hot, it will automatically lower its performance to cool down. Moreover, if something goes seriously wrong, most GPUs will simply shut down rather than burn out.
Still, safety is key. As long as you take things slowly, monitor temperatures, and avoid pushing your card to extremes, you'll be fine. Plus, if something does go wrong, resetting your GPU to its default settings is usually just a click away.
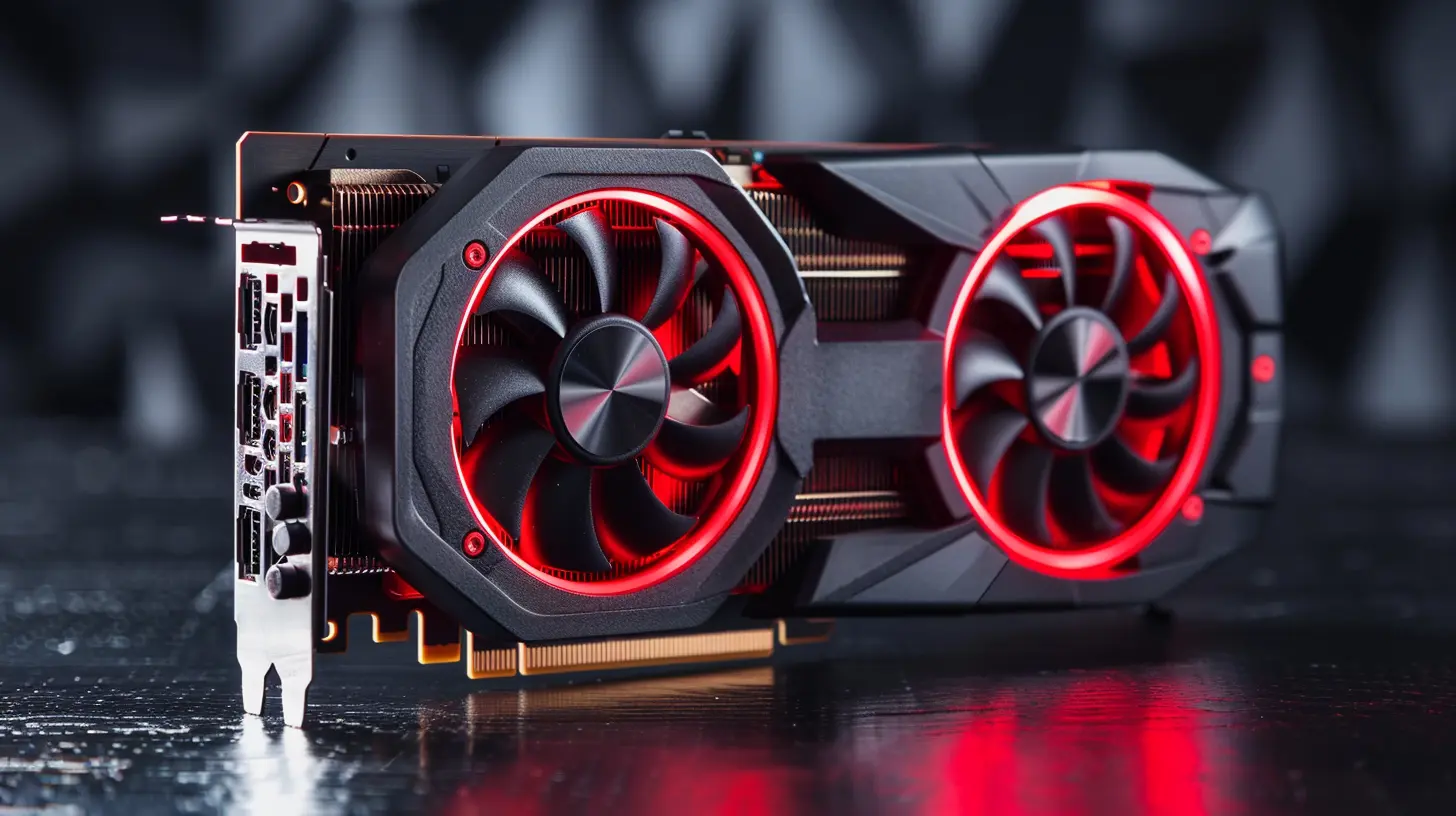
Why Overclock Your Graphics Card?
Why bother overclocking at all? Well, here are a few reasons:1. Better Gaming Performance: Overclocking can give you more FPS in games, especially if you're playing at higher resolutions.
2. Faster Rendering: If you work with video editing or 3D rendering software, overclocking can reduce rendering times, saving you hours.
3. Future-Proofing: As games and software become more demanding, overclocking can help squeeze more life out of your aging hardware.
4. Bragging Rights: Let's be honest, saying you've overclocked your GPU to its limits just sounds cool.
With all that in mind, let’s get into how you can safely overclock your GPU.
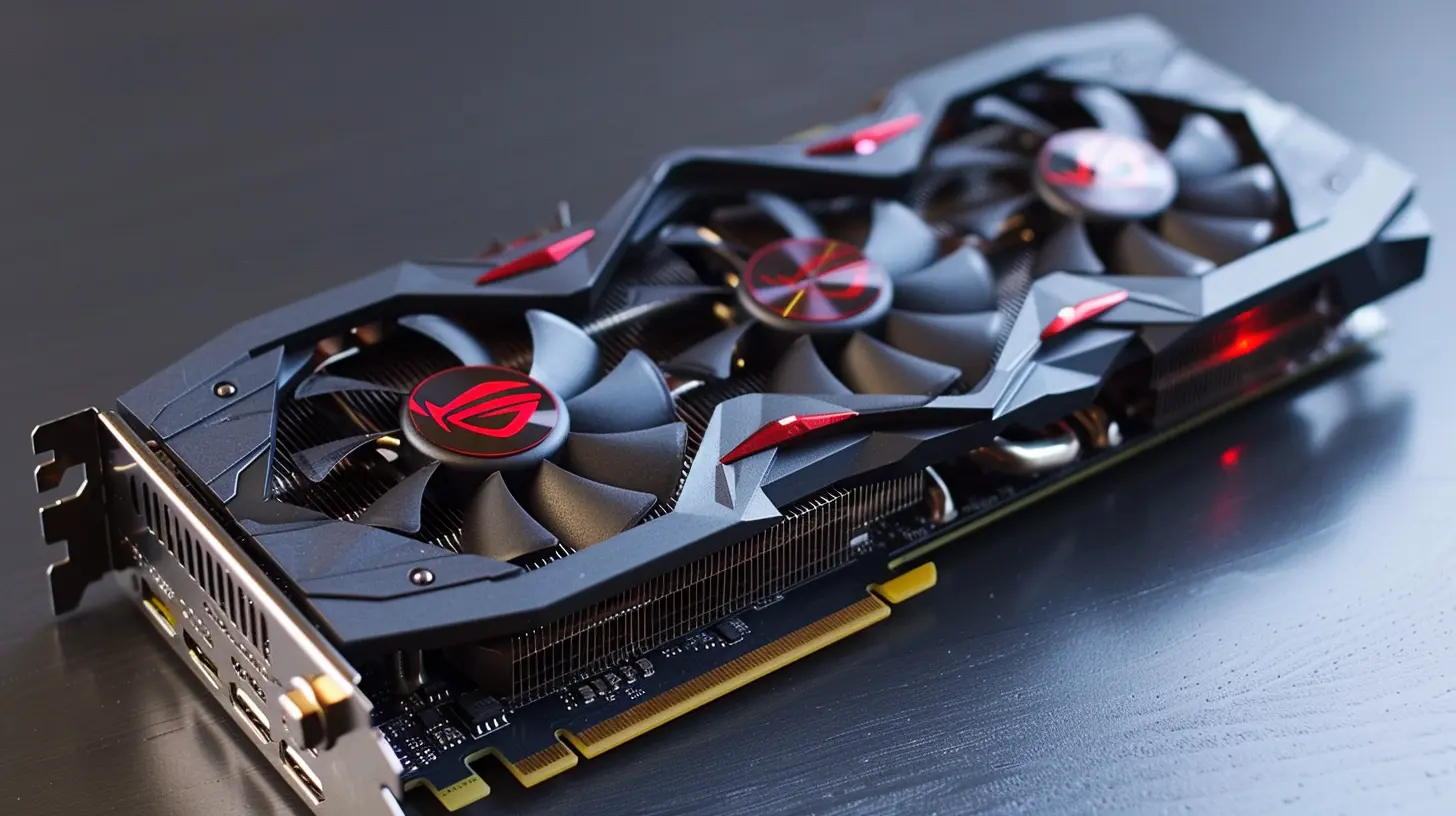
Things to Check Before Overclocking
Before you start pushing your GPU to its limits, there are a few things you should check:1. Cooling Solution
Overclocking generates more heat, so having a good cooling system is essential. If your PC case has poor airflow or your GPU's fans aren't up to the task, you risk overheating. Make sure your case has enough space for air to flow and consider using third-party cooling solutions if necessary.2. Power Supply
Overclocking also consumes more power. If your power supply unit (PSU) is already running at full capacity, overclocking could push it too far, leading to crashes or even damaging components. Make sure your PSU has enough wattage to handle the extra load.3. Drivers and Software
Before overclocking, ensure your GPU drivers are up to date. Outdated drivers can cause instability when overclocking. Also, you'll need overclocking software to adjust your GPU settings. Popular tools include MSI Afterburner, EVGA Precision X1, and AMD's Radeon Software.How to Safely Overclock Your Graphics Card
Alright, now that you've got your cooling solution, power supply, and software ready, it's time to get into the actual overclocking process.Step 1: Benchmark Your Baseline Performance
Before making any changes, it's important to know where you're starting from. Use a benchmarking tool like 3DMark, Unigine Heaven, or FurMark to test your GPU's current performance. Run the benchmark and take note of your FPS, temperatures, and scores.This gives you a baseline to compare against after overclocking. Plus, it helps you catch any potential issues before you start tweaking settings.
Step 2: Increase the Core Clock
The core clock is the speed at which your GPU's core (the brain of the GPU) operates. Increasing this clock speed is where you'll see the most performance gains.1. Open your overclocking tool (e.g., MSI Afterburner).
2. Increase the core clock speed by small increments—start with something like 10-20 MHz.
3. After each increase, run your benchmark tool again to test the stability and performance.
Step 3: Monitor Temperature and Stability
As you increase the core clock, your GPU will begin to run hotter. Keep an eye on the temperature using a monitoring tool like HWMonitor or GPU-Z. A good rule of thumb is to keep your GPU temperature below 85°C. Anything higher, and you risk damaging your hardware.At the same time, watch for any signs of instability—such as screen flickering, crashes, or artifacts (weird visual glitches). If your system becomes unstable, dial back the core clock by 10 MHz and re-test.
Step 4: Increase Memory Clock
The memory clock controls the speed at which your GPU's VRAM operates. Boosting this can improve performance in memory-intensive tasks, such as high-resolution gaming.1. Increase the memory clock by small increments (typically 25-50 MHz).
2. Similar to the core clock, run benchmarks and check for stability after every adjustment.
3. Keep an eye on temperatures, but know that memory overclocking typically doesn't generate as much heat as core overclocking.
Step 5: Adjust Voltage (Optional)
If you're feeling adventurous, you can adjust the GPU's voltage to push your overclock even further. Increasing voltage can help stabilize higher overclocks, but it also dramatically increases heat output and power consumption.If you decide to tweak the voltage, do so with caution! Increase it in small increments (0.01V is a good starting point) and keep a close eye on temperatures.
Step 6: Test, Test, Test!
After you've found a stable overclock, it's time to stress-test your GPU. Use tools like FurMark or Unigine Heaven to run extended stress tests. Let them run for at least 30 minutes to ensure your GPU remains stable under heavy load.If your system crashes or shows artifacts during the stress test, dial back your overclocking settings slightly until you find a stable configuration.
Step 7: Save Your Overclock Profile
Once you're satisfied with your overclock, most software tools allow you to save the settings as a profile. This makes it easy to revert to your stable overclock whenever you reboot your computer or reinstall drivers.
Tips for Safe Overclocking
Here are a few extra tips to ensure your overclocking experience goes smoothly:- Take it slow: Rushing through the process can lead to instability or even hardware damage. Increase clock speeds gradually and test thoroughly after each adjustment.
- Monitor temperatures: If your GPU hits 85°C or higher, dial back your overclock immediately.
- Use a stress test: After overclocking, run a stress test for at least 30 minutes to ensure stability.
- Don't push too far: While it's tempting to go for the highest possible overclock, always prioritize stability and longevity over raw performance.
What to Do If Something Goes Wrong
If your system crashes or you experience instability, don’t panic! Most overclocking software has a "reset to default" button that restores all settings to factory defaults. Alternatively, you can reboot your computer into safe mode and uninstall the overclocking software if necessary.Remember, overclocking is a trial-and-error process. It's normal to encounter a few hiccups along the way, but as long as you follow the steps carefully and monitor your system, the risks are minimal.
Conclusion: Is Overclocking Worth It?
So, is overclocking your GPU worth it? Absolutely—if you're willing to put in the time and effort. Overclocking can provide a noticeable performance boost, allowing your games to run smoother and your workloads to complete faster.However, it's not a magic bullet. Overclocking won't turn a mid-range card into a top-of-the-line GPU, but it can help you get the most out of your existing hardware.
If you're careful, patient, and attentive to your system's limits, overclocking is a fun and rewarding way to boost your PC’s performance. So, go ahead—give it a try and see just how much power you can unlock from your GPU!
all images in this post were generated using AI tools
Category:
Graphics CardsAuthor:

Pierre McCord
Discussion
rate this article
1 comments
Xeno McElveen
Overclocking your graphics card can significantly enhance performance, but it requires careful monitoring of temperatures and voltages. Utilize reliable software tools, gradually increase clock speeds, and conduct stress tests to ensure stability. Prioritize cooling solutions to prevent overheating and maintain system longevity.
November 18, 2025 at 3:27 AM

Pierre McCord
Thank you for your insightful comment! You’re absolutely right—careful monitoring and effective cooling are essential for safe overclocking.
