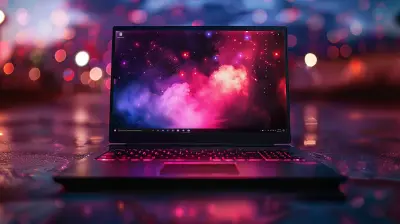
How to Properly Install a Graphics Card: A Step-by-Step Guide
14 June 2026
So, you’ve finally decided to upgrade your gaming rig or boost your workstation’s performance? Congrats! One of the most impactful upgrades you can make to your PC is installing a new graphics card (GPU). Whether you're diving into the world of 4K gaming or need a faster card for video editing, a GPU upgrade can breathe new life into your system.
But let’s be real: Installing a graphics card can seem intimidating if you’ve never done it before. It’s not as simple as plugging in a USB device. The good news? It’s not as hard as it looks either! By following this step-by-step guide, you’ll be able to install your new graphics card like a pro.
Let’s jump into the details and break everything down.
Why Install a New Graphics Card?
Before we get into the nitty-gritty of installation, let’s talk about why you’d want to install a new GPU in the first place.Maybe you’ve noticed your games lagging, or your video editing software is taking forever to render. Or perhaps you’re trying to future-proof your PC for upcoming games or applications. Whatever the reason, a new graphics card can significantly boost your computer’s visual processing power. Think of it as giving your PC a new set of muscles.
What You’ll Need:
- Your new graphics card (duh!)- A Phillips-head screwdriver
- Anti-static wrist strap (optional but recommended)
- Clear workspace
- Your PC (obviously)
Now that you know why and what you’ll need, let’s get into the fun part: the installation.
Step 1: Turn Off Your PC and Unplug It
First things first, shut your PC down properly. Once it’s powered off, make sure to unplug it from the wall. This step is crucial for avoiding electrical shock or causing damage to your system. You don’t want to accidentally fry your shiny new GPU before it even gets a chance to shine!Pro Tip: Ground Yourself
Static electricity can wreak havoc on your computer’s sensitive components. To avoid frying anything with static, either wear an anti-static wrist strap or touch a metal part of your case to ground yourself before handling any internal parts.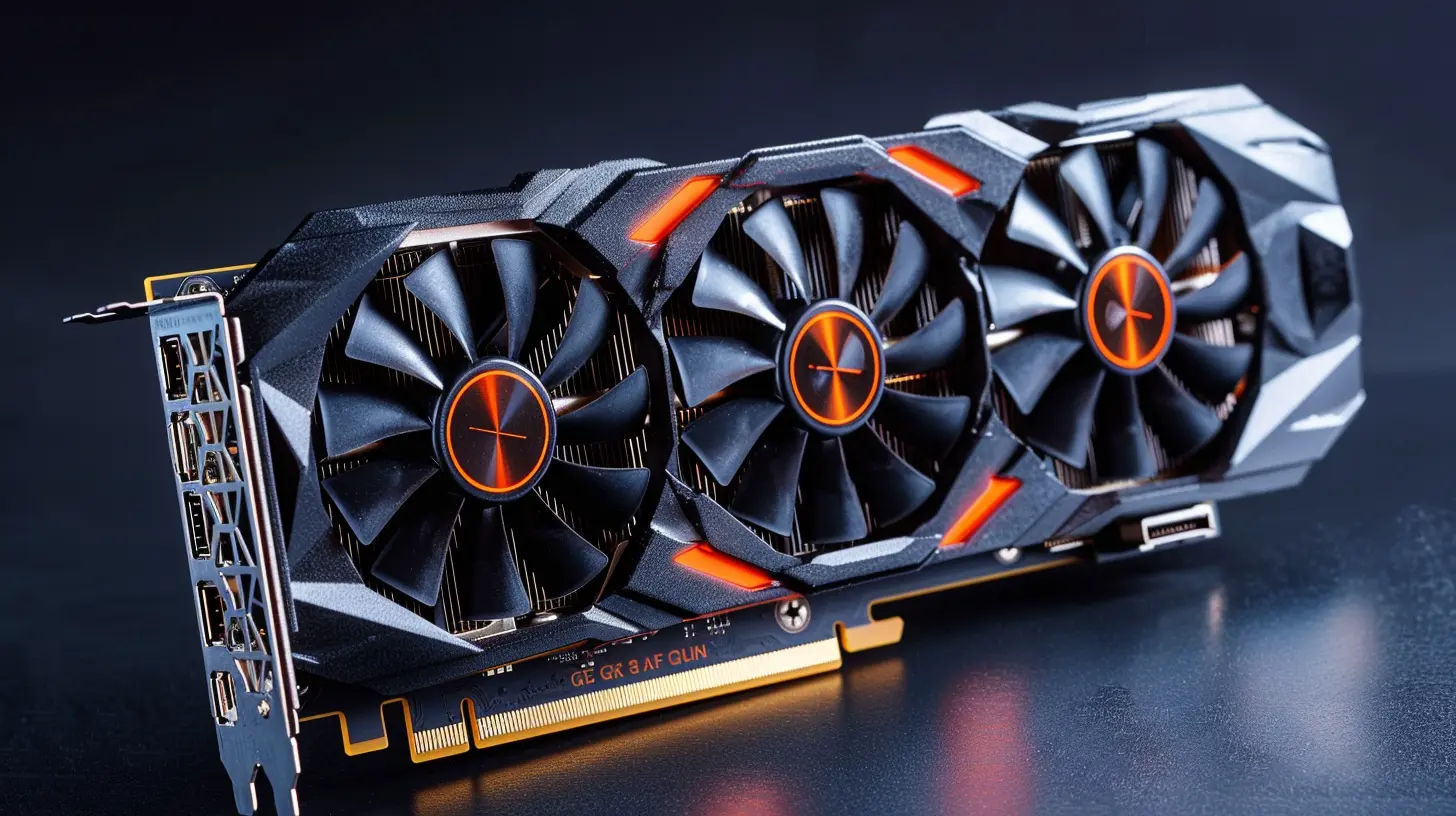
Step 2: Open Your PC Case
With your PC turned off and unplugged, it’s time to open the case. Most modern cases have thumb screws on the back that you can simply unscrew. If not, you may need a Phillips-head screwdriver to remove the side panel.Once the side panel is off, you’ll have access to the internal components. This is where all the magic happens!
Note:
Make sure you’ve got enough space to work. A cluttered desk is the enemy of a smooth installation process. You don’t want to knock over your coffee or spill tools inside your case!
Step 3: Locate the PCIe Slot
Now, take a look inside your PC. You’ll want to locate the PCIe (Peripheral Component Interconnect Express) slot. This slot is where your GPU will live. It’s usually the longest slot on your motherboard, typically located near the bottom. If you’re upgrading from an older GPU, you’ll need to remove the existing card from this slot first.Identify the Right Slot
Most motherboards have multiple PCIe slots, but your GPU should go into the top-most slot (the one closest to the CPU). This slot is usually labeled as "PCIe x16" and provides the best performance.Step 4: Remove the Old Graphics Card (If Upgrading)
If you’re upgrading from an older card, you’ll first need to remove it. This is pretty straightforward.1. Unscrew the bracket holding the old GPU in place. This screw is usually attached to the case near the card’s rear panel.
2. Gently push down the plastic latch located at the end of the PCIe slot. This latch holds the card securely in place.
3. Carefully pull the card straight out of the slot. Be gentle—no yanking or tugging!
Set the old card aside, and if you’re not planning to use it anymore, consider storing it in an anti-static bag.
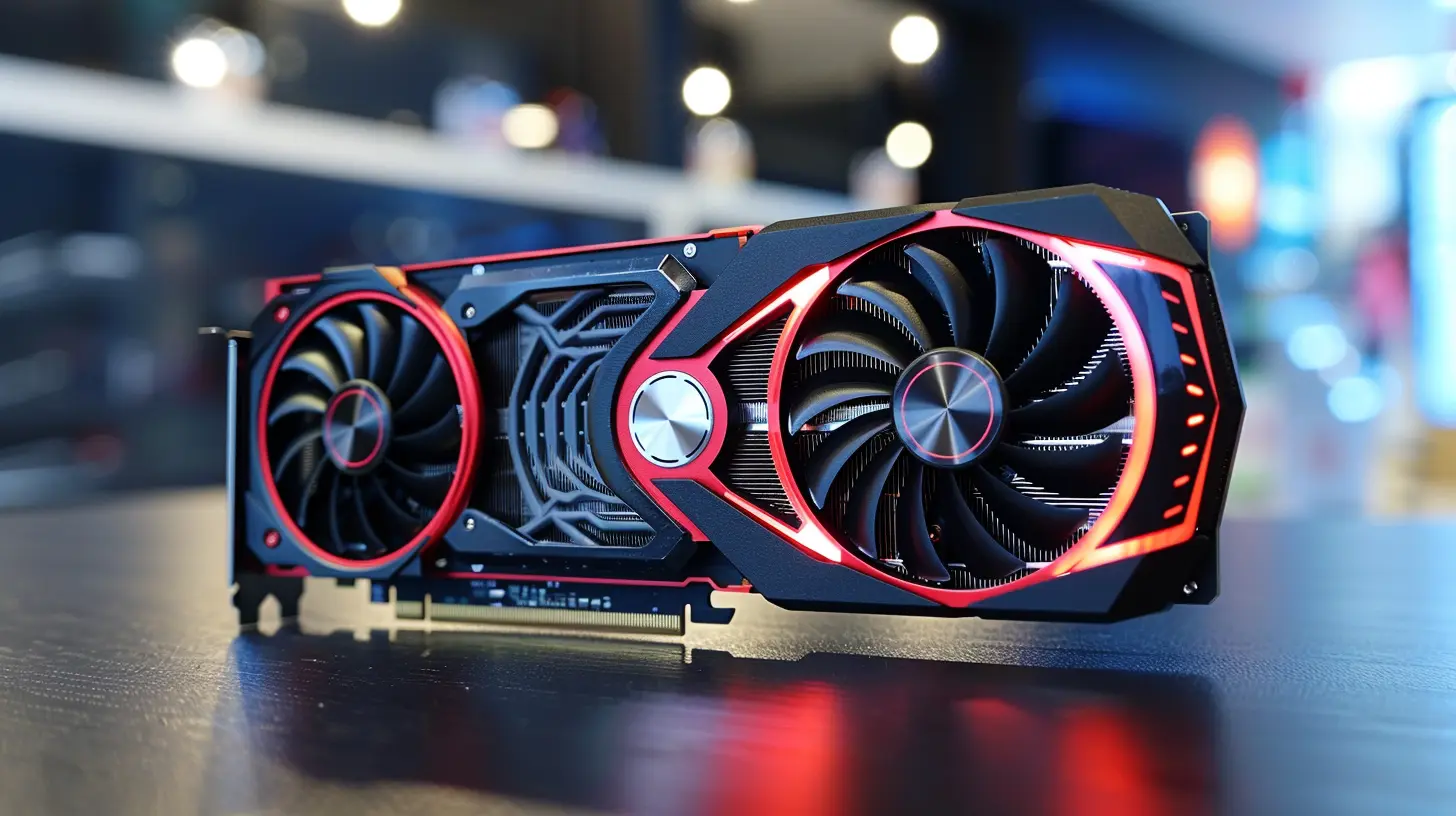
Step 5: Insert the New Graphics Card
Now comes the moment you’ve been waiting for—installing your new graphics card!1. Line it up: Before you insert the card, make sure it’s aligned properly with the PCIe slot. The metal connector at the bottom of the card should align with the slot.
2. Push it in: Press the card firmly but gently into the slot. You’ll know it’s seated properly when you hear a little "click" as the plastic latch locks into place.
3. Secure it: Once the card is seated, screw it into the bracket to secure it. This prevents the GPU from moving around, especially when you’re transporting your PC.
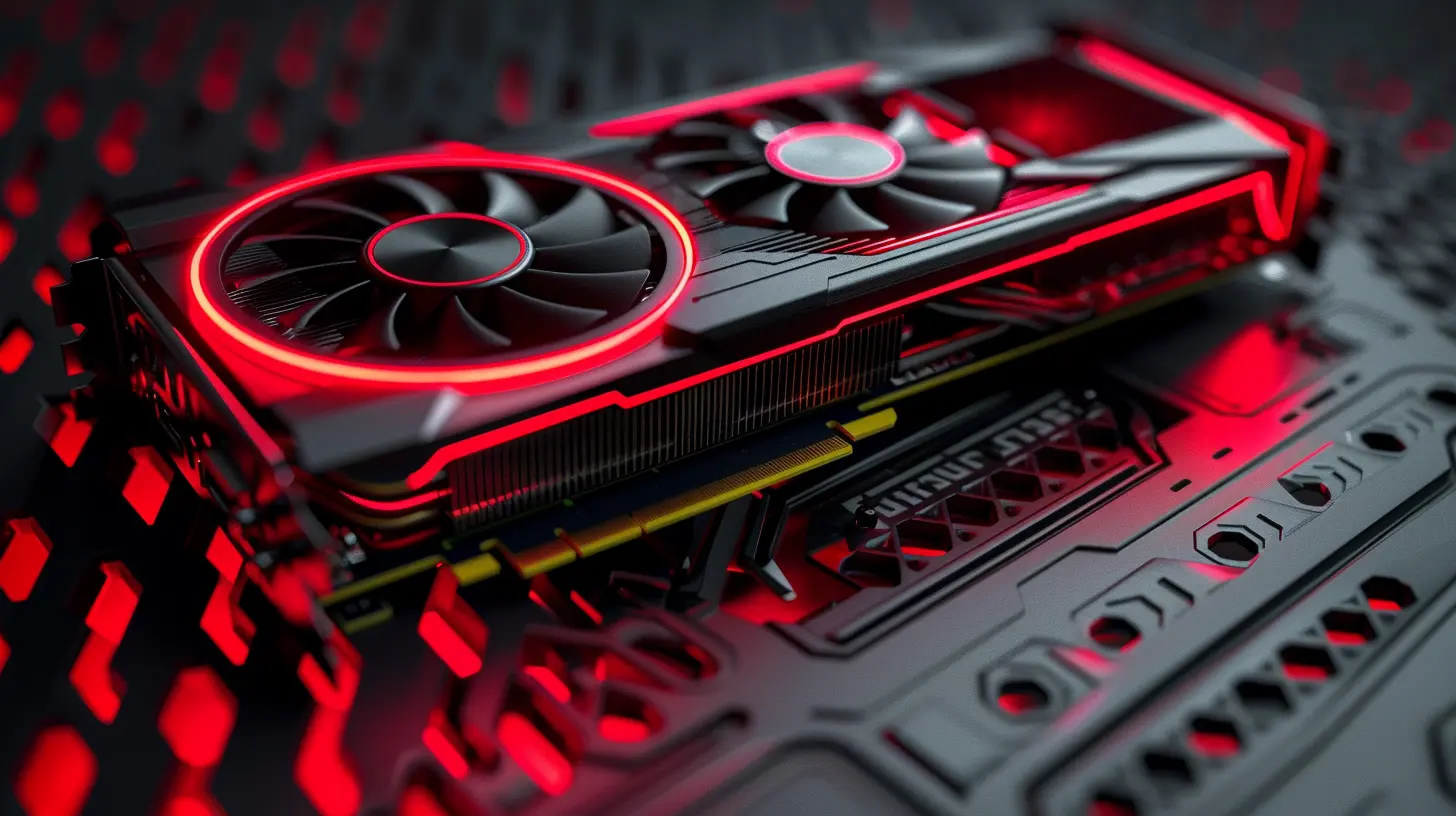
Step 6: Connect Power Supply Cables
Most modern graphics cards require additional power from your power supply unit (PSU). You’ll typically find 6-pin, 8-pin, or even multiple power connectors on more powerful GPUs.1. Locate the PSU cables: Your PSU should have these power connectors bundled together. If your PSU doesn’t have the right connectors, you may need an adapter or even a new PSU.
2. Plug them in: Connect the necessary power cables to the GPU. Make sure they’re securely connected; loose connections can cause all sorts of issues, from poor performance to system crashes.
Double Check:
Before moving on, take a moment to ensure everything is seated properly. The GPU should be firmly in the PCIe slot, and the power cables should be snug.
Step 7: Close the Case and Reconnect Everything
Time to wrap things up. Replace the side panel on your case and secure it with the screws you removed earlier.Now, reconnect all your peripherals—keyboard, mouse, monitor, etc.—and plug your PC back into the wall.
Tip: Connect Your Monitor to the GPU
After installing your new graphics card, make sure to connect your monitor to the GPU’s output (HDMI, DisplayPort, etc.), not the motherboard’s integrated graphics. Otherwise, your new card won’t be doing any of the heavy lifting!Step 8: Boot Up and Install Drivers
Moment of truth! Power on your PC. If everything went smoothly, your system should boot up without a hitch. If your screen stays black or your PC beeps, you may need to double-check your connections or reseat the GPU.Once your system boots, it’s time to install drivers for your new graphics card.
1. Go to the manufacturer’s website: Whether you have an NVIDIA, AMD, or Intel GPU, go to the respective site and download the latest drivers.
2. Install the drivers: Follow the on-screen instructions to install the drivers. This ensures your GPU is working at its full potential.
After installation, restart your computer to finalize the process.
Step 9: Test Your New Graphics Card
Now that your graphics card is installed, it’s time for a test drive! Fire up a game or a demanding application to see how your new GPU performs. If you’ve upgraded from an older card, the difference should be night and day. You’ll probably notice smoother frame rates, better visuals, and faster rendering.Benchmarking (Optional)
If you want to dig deeper, you can use benchmarking software like 3DMark or Unigine Heaven to test the performance of your new card. This can give you a quantifiable measure of how well your GPU is performing compared to others.Troubleshooting Common Issues
Let’s be honest: Sometimes things don’t go as planned. If you run into issues, don’t panic. Here are some common problems and how to fix them:- Black screen on boot: Double-check that your monitor is connected to the GPU, not the motherboard’s integrated graphics.
- No power to the GPU: Make sure the power connectors are properly seated. If your card requires two power connectors, ensure both are plugged in.
- System crashes or poor performance: Verify that the drivers are correctly installed and up-to-date. Also, check that your PSU is powerful enough to handle your new GPU.
Conclusion
And there you have it—a step-by-step guide on how to properly install a graphics card. While it may seem a bit daunting at first, it’s actually a pretty straightforward process once you get going. By following these steps, you’ll be able to install your shiny new GPU and enjoy improved performance, whether you're gaming, editing videos, or just browsing the web with multiple monitors.Remember, patience is key. Take your time, double-check your connections, and soon enough, you’ll be reaping the rewards of your upgraded system.
Happy gaming, or whatever epic use you’ve got planned for that new GPU!
all images in this post were generated using AI tools
Category:
Graphics CardsAuthor:

Pierre McCord
Discussion
rate this article
1 comments
Zariah McLaury
Great guide! I always felt intimidated by hardware installation, but this step-by-step approach makes it seem manageable. Going to give it a try.
July 8, 2026 at 4:18 AM
Pierre McCord
I'm glad you found it helpful! You'll do great with the installation. Just take your time and follow the steps. Good luck!