How to Set Up a Home Karaoke System for Parties and Fun
22 August 2025
Nothing turns a regular gathering into an unforgettable party quite like karaoke. It’s the ultimate icebreaker, confidence booster, and all-around good time. But here’s the thing—going to karaoke bars isn't always an option. Wouldn’t it be awesome to belt out your favorite tunes from the comfort of your living room? Guess what? You totally can.
Setting up a home karaoke system might sound like a high-tech project, but it’s actually easier than you think. Whether you’re planning a small get-together with friends or a full-blown party, you can build a karaoke setup that suits your needs and fits your budget. Let’s break it all down in simple terms, step-by-step.
Why Set Up a Home Karaoke System?
Before we get into the nuts and bolts, let’s talk about why you should even bother.Think about it: Karaoke is like a musical game night, except everyone’s involved, and no one’s keeping score. It brings people together in a way few other party activities can. Whether you’re into 90s rock ballads, K-pop, or hip-hop—there’s something for everyone.
Plus, once you’ve got your setup in place, it’s yours forever. Karaoke night becomes whenever-you-want night.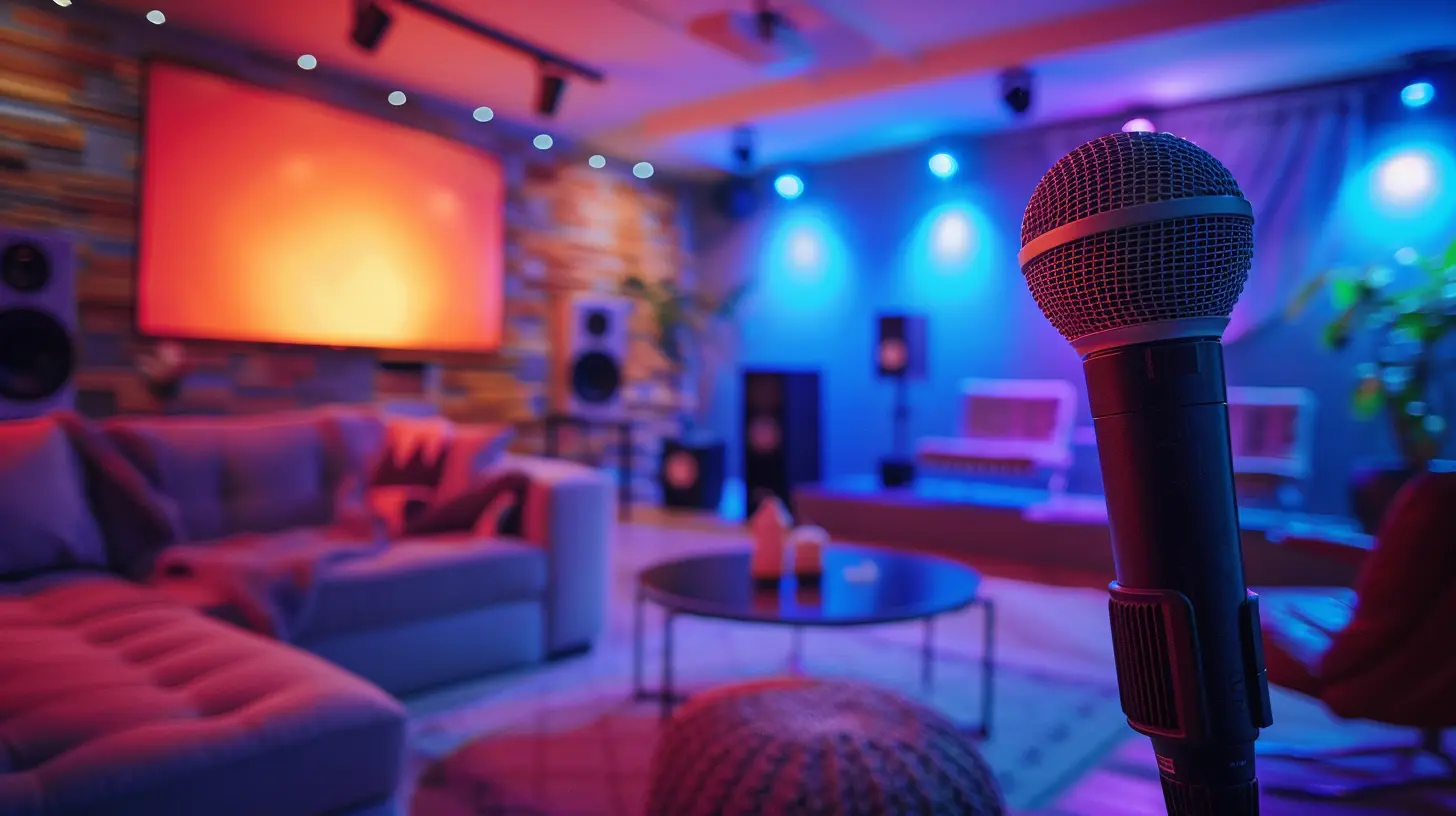
What You Need to Get Started
Let’s start with the basics. A karaoke system is essentially made up of a few key parts:- A sound source (like a karaoke machine, laptop, or smartphone)
- Microphones
- Speakers
- Display (TV, monitor, or projector)
- Cables or wireless connection for syncing devices
- Optional add-ons: Mixer, disco lights, mic stands, etc.
Now, let’s dive into each one.
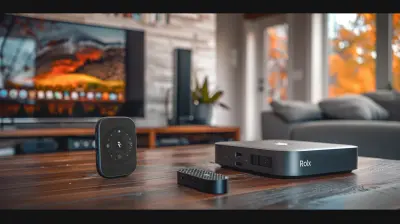
Step 1: Choose Your Karaoke Source
This is where your songs come from—and where the lyrics get displayed. You’ve got a few different options here, and the best one depends on how much flexibility you want.Option 1: Karaoke Machine
If you're going old-school, a standalone karaoke machine might be your best bet. These all-in-one setups come with built-in speakers, mic inputs, and sometimes even a screen.Pros:
- Easy to set up
- Portable
- Simple to use
Cons:
- Limited song libraries
- Often lower sound quality
Option 2: Smart TV or Streaming Apps
Nowadays, you can just fire up YouTube on your Smart TV and search for virtually any song in karaoke version. There are also dedicated apps like Karaoke Channel, KaraFun, or Smule.Pros:
- Massive song selection
- Easy access
- Syncs with other smart devices
Cons:
- Requires internet
- May have ads or subscription fees
Option 3: Laptop + Karaoke Software
If you’re feeling a little more tech-savvy, using a laptop gives you the most control. Software like Kanto Karaoke, KaraFun Player, and Siglos lets you load in a ton of songs, create playlists, and even control pitch and tempo.Pros:
- Highly customizable
- Save favorite tracks
- Great for large parties
Cons:
- More setup
- Costs for software and song packs
Step 2: Microphones Matter (A Lot)
Let’s face it, you can’t have karaoke without a good mic. Whether you go wired or wireless is up to you, but either way, sound quality and comfort count.Wired Mics
These are generally cheaper and more reliable. No batteries, no connectivity issues. Just plug and go.Tip: Look for mics with dynamic cardioid patterns—they’re good at picking up vocals and ignoring background noise.
Wireless Mics
If your performers love to move around or you hate tangled cords, wireless is the way to go. Make sure you get a pair that uses UHF (Ultra High Frequency) for better range and sound quality.Bonus Tip: Get rechargeable mics to avoid last-minute battery hunts during the chorus of “Bohemian Rhapsody.”
Step 3: Speakers That Bring the Boom
Your speakers can make or break the karaoke experience. Tiny, tinny sound from your TV speakers just won’t cut it. You want your living room to feel like a concert hall—or at least your favorite dive bar.Portable Bluetooth Speakers
They’re convenient and easy to connect, but not always powerful enough for larger rooms.PA Systems
If you want booming sound, especially for outdoor parties or big groups, go with a proper PA system. It might cost more, but the audio quality is night-and-day better.Soundbars
A good middle ground. If you already have a decent soundbar for your TV, you can totally use it for karaoke too—just make sure your mic or mixer can connect to it.Step 4: Displaying the Lyrics
You don’t have to squint at your phone to read the lyrics. Karaoke is supposed to be a performance, after all!Use a TV or Projector
Connect your laptop or streaming device to your TV via HDMI, and you’ve got a big, bright screen for everyone to follow along. If you want to go even bigger, a projector can turn any wall into a stage backdrop.Tip: Use a wireless HDMI adapter if you want fewer cords in your living room.
Step 5: Mix It All Together
If you’ve got more than one mic—or if you’re picky about your sound—adding a mixer into the setup helps balance everything.A mixer lets you:
- Control each microphone’s volume
- Adjust echo or reverb effects
- Mute or fade backgrounds
It’s like being your own DJ and sound tech at once. Pretty sweet.
Step 6: Don’t Forget the Fun Stuff
Now that the tech is sorted, let’s add some flare! Karaoke isn’t just about sound—it’s about atmosphere.Lighting
A set of LED disco lights, a spinning party ball, or even just some rope lights can totally change the vibe of the room.Mic Stands
If your guests want to go full diva or rockstar, a mic stand helps free up hands for dramatic gestures. Air guitar, anyone?Costumes or Props
Add a dress-up bin with hats, sunglasses, wigs, or boas. It sounds silly—but that’s the point! The sillier, the better.Sample Karaoke Setups for Every Budget
Let’s make this even easier. Here’s how your karaoke setup might look depending on your budget.💸 Budget-Friendly Setup (~$100-150)
- YouTube on Smart TV- One wired microphone
- Bluetooth speaker
- Basic lighting like a party bulb
Great for casual nights and smaller rooms.
💰 Mid-Range Setup (~$300-500)
- Laptop + KaraFun subscription- Two wireless microphones
- Soundbar or basic PA speaker
- Mixer for mic & audio control
- Small disco ball or LED strip lights
Perfect for bigger houses and real party vibes.
🤑 Premium Setup (~$800+)
- Pro karaoke machine or high-end laptop with karaoke software- Two high-quality wireless mics
- Full PA system
- Mixer with audio effects
- Projector for wall-sized lyrics
- Light show setup
- Decor and props galore
This one turns your home into a mini karaoke club.
Tips to Host the Ultimate Karaoke Party
Okay, your system is ready. Now let’s talk about creating an experience your guests won’t forget.1. Create a Playlist in Advance
Ask your guests for favorite songs ahead of time. Having a playlist removes that awkward “what should we sing next?” pause.2. Warm It Up
Start with group songs—think Queen, ABBA, or classic boy/girl band hits. It helps shy singers ease into it.3. Keep It Positive
No American Idol judges allowed. Encourage everyone, especially first-timers. Remember, it’s about fun, not perfection.4. Rotate the Mic
Make sure everyone gets a turn. Use a signup sheet or just gently nudge the hoggers to give someone else the spotlight.5. Record the Night
Capture the moments on video or audio (with permission, of course). It makes for hilarious memories and maybe even viral content!Common Karaoke Setup Mistakes to Avoid
Let’s wrap up with a few pitfalls you’ll want to dodge:- Underpowered Speakers: Don’t rely on your phone or TV speakers alone.
- Bad Mic Quality: Cheap mics can ruin the vibe with feedback or static.
- Too Few Song Choices: Make sure you have a wide selection for different tastes.
- Mic Lag: Test wireless systems ahead of time to make sure there’s no noticeable delay.
- Ignoring Room Acoustics: Try to set up in a space where sound doesn’t bounce too wildly—carpeted rooms work best.
Final Thoughts
Setting up a home karaoke system is like building your very own stage. It doesn’t need to be complicated or expensive. With just a few key items—and a lot of enthusiasm—you can turn any night into a sing-along spectacular.So grab a mic, queue up your favorite track, and let it rip. You’d be surprised how quickly even the shyest guest becomes a star with the right setup and a little encouragement.
Your living room is about to become the hottest club in town.
all images in this post were generated using AI tools
Category:
Home EntertainmentAuthor:

Pierre McCord
Discussion
rate this article
2 comments
Adrian Moore
This article is a fantastic resource for anyone looking to bring joy and entertainment into their home. Setting up a karaoke system can create unforgettable memories with friends and family. Remember, it’s not just about singing; it’s about the laughter and connection that fills the room. Enjoy the fun!
March 25, 2026 at 4:34 PM
Pierre McCord
Thanks for the kind words! I'm glad you found the article helpful. Enjoy making those memories!
Elwynn McMurtry
Creating a home karaoke system combines technology and entertainment; consider audio quality, microphone selection, and user-friendly interfaces for the best experience.
September 7, 2025 at 3:10 AM
Pierre McCord
Absolutely! Prioritizing audio quality, choosing the right microphones, and ensuring user-friendly controls will significantly enhance your karaoke experience. Thanks for the insight!