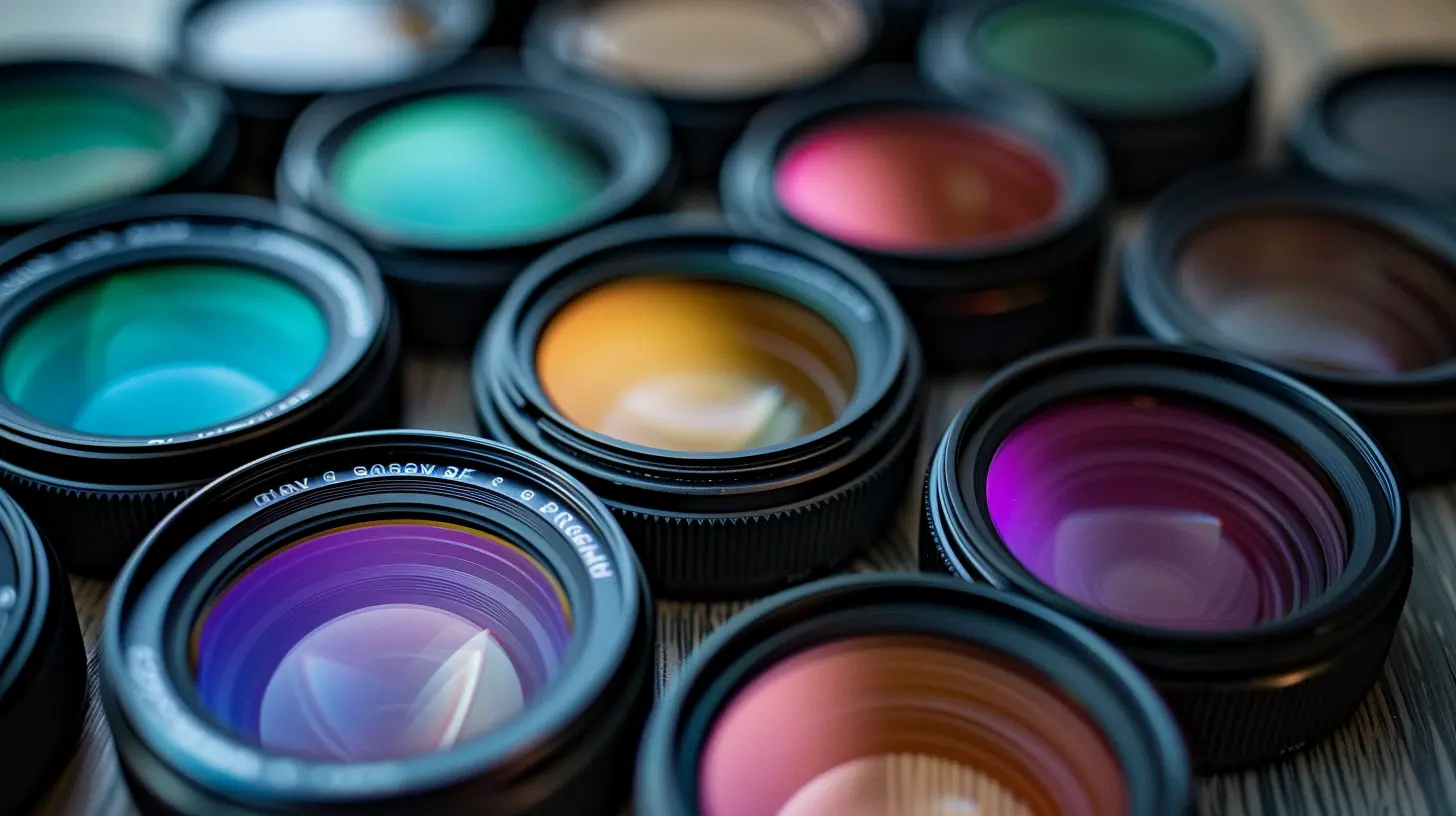
How to Choose the Right Filters for Your Camera Lens
26 October 2025
As a photographer, you probably know that the lens is the heart of your camera. But did you know that the right filter can make or break your shot? Filters are like sunglasses for your camera— they control the light, enhance colors, and can even protect your precious lens from dust and scratches. If you're wondering how to choose the right filters for your camera lens, you're in the right place. Whether you’re a beginner or a seasoned pro looking to up your game, this article will guide you through everything you need to know about lens filters.
Why Do You Need Filters for Your Camera Lens?
Before we dive into the different types of filters available, let’s first talk about why you need them in the first place. Sure, you can always rely on post-processing software like Photoshop or Lightroom, but trust me, nothing beats getting the shot right straight out of the camera. Filters do things that no software can truly replicate. Here’s why:1. Control lighting conditions: Filters help you manage tricky lighting, especially in outdoor environments. They can tone down harsh sunlight or enhance colors during sunset.
2. Enhance colors and contrast: Filters can make your colors pop and give your photos a more vivid, dynamic look.
3. Protect your lens: Lens filters, especially UV filters, act as a first line of defense against dust, scratches, and smudges.
4. Special effects: Some filters, like polarizers and ND filters, can create dreamy effects like smooth water surfaces or enhanced sky clarity.
So, what kind of filter should you get? Don’t worry, I’ve got you covered.
Types of Camera Lens Filters
There are several types of camera lens filters out there, and each serves a unique purpose. Let’s break them down one by one so you can figure out which ones work best for your needs.1. UV Filters (Ultraviolet Filters)
Ah, the good old UV filter. This is one of the most basic types of filters, and it’s often the first one you’ll buy. The original purpose of the UV filter was to block ultraviolet light from entering the lens, especially back in the day when film cameras were more sensitive to UV rays. Today, digital sensors aren’t as prone to UV interference, so the main reason to use a UV filter is for lens protection.When to Use:
- Everyday shooting: If you’re shooting in dusty, sandy, or wet environments, a UV filter can protect your lens from damage.- Outdoor photography: It can slightly reduce haze in outdoor shots, especially at high altitudes.
Pros:
- Acts as a protective shield for your lens.- Doesn’t affect image quality much.
Cons:
- Not much impact on digital photos in terms of UV light.> Pro Tip: Always make sure you get a high-quality UV filter. Cheap ones can actually degrade the sharpness and contrast of your photos.
2. Circular Polarizing Filters (CPL)
If you’ve ever taken a photo with harsh reflections—whether from water, glass, or wet surfaces—you know how frustrating it can be. This is where Circular Polarizing Filters (CPL) come into play. These filters reduce reflections and glare, making your images clearer and more vibrant.When to Use:
- Landscape photography: Reduces unwanted reflections from water, glass, and wet surfaces.- Sky photography: Deepens the color of the sky, making clouds stand out more.
Pros:
- Reduces reflections: Ideal for shooting through glass or water.- Enhances contrast: Makes colors pop, especially in the sky or foliage.
Cons:
- Can darken your image by about 1-2 stops, meaning you’ll need to adjust your exposure.> Pro Tip: Rotate the CPL filter while looking through the viewfinder to see the effect in real-time. You’ll notice how reflections vanish and the sky gets darker as you twist the filter.
3. Neutral Density Filters (ND Filters)
Think of Neutral Density (ND) filters as sunglasses for your camera. These filters reduce the amount of light that enters your lens, making them perfect for shooting in bright conditions without overexposing your image. ND filters are a must-have for long exposure photography.When to Use:
- Long-exposure photography: Blurs motion, like creating a silky smooth effect on water or clouds.- Bright environments: Allows you to shoot wide-open apertures in bright sunlight without overexposing the image.
Pros:
- Long exposure effects: Perfect for creating that dreamy "blur" effect with moving subjects like water or clouds.- Works in bright conditions: Makes it possible to shoot at slower shutter speeds in daylight.
Cons:
- Can darken your viewfinder, making it harder to compose your shot.> Pro Tip: If you’re serious about long exposures, consider getting a variable ND filter, which allows you to adjust the level of light reduction on the fly.
4. Graduated Neutral Density Filters (GND Filters)
Graduated Neutral Density Filters are like ND filters but with a twist—literally. The filter is darker at the top and gradually becomes clear toward the bottom. This is super helpful when you're dealing with high-contrast scenes, like a bright sky and a darker foreground.When to Use:
- Landscape photography: Balances bright skies and darker landscapes, preventing overexposure in the sky while keeping the ground properly exposed.Pros:
- Balances exposure in high-contrast scenes.Cons:
- Can be tricky to use if you’re not familiar with how to align the gradient properly.> Pro Tip: If you're shooting with a GND filter, use a tripod for best results. This ensures the gradient stays aligned with the horizon.
5. Infrared Filters
Infrared filters block visible light, allowing only infrared light to hit your camera sensor. This creates surreal, otherworldly images. If you’re into experimental or fine-art photography, an infrared filter can open up a whole new realm of creativity.When to Use:
- Fine art or experimental photography: Creates dreamlike, surreal images.- Black and white infrared photography: Produces high-contrast, ethereal black and white images.
Pros:
- Unique, surreal effects.Cons:
- Requires specialized post-processing to bring out the best in your images.> Pro Tip: Not all cameras are suitable for infrared photography, so check your camera's sensor compatibility before investing in an infrared filter.
6. Special Effects Filters
If you want to get creative, you can also experiment with special effects filters. These include filters that add starbursts to light sources, soft-focus filters for dreamy portraits, and color filters that can add a tint to your images.When to Use:
- Creative photography: Adds a unique look to your shots.- Portraits: Soft-focus filters can give a dreamy, ethereal look.
Pros:
- Adds creativity and uniqueness to your shots.Cons:
- Effects can often be replicated in post-processing, though the results may differ.> Pro Tip: Special effects filters are great for experimenting, but make sure the effect adds value to your image and doesn’t distract from the subject.
How to Choose the Right Filter for Your Camera Lens
Now that you’re familiar with the types of filters, how do you go about choosing the right one? Here are a few key factors to consider:1. Filter Size
First things first—make sure the filter fits your lens! Lenses have different diameters, and you’ll need to match the filter size to the diameter of your lens. You can find the size printed on the front of your lens or in the lens specifications.> Pro Tip: If you have multiple lenses with different diameters, consider investing in a step-up ring so you can use the same filter on all your lenses.
2. Purpose
Think about what you’re shooting. Are you a landscape photographer dealing with bright skies and reflective surfaces? A CPL filter might be your best friend. Do you love long exposures? Then an ND filter is a must.3. Quality
Not all filters are created equal. Cheap filters can degrade image quality, causing lens flare, reducing sharpness, or introducing unwanted color casts. Invest in high-quality filters from reputable brands like Hoya, B+W, or Tiffen.4. Compatibility
Check if the filter is compatible with your camera and lens setup. Some filters work better with certain lenses or camera bodies. For example, some wide-angle lenses can cause vignetting (darkened corners) when combined with a thick filter.
Conclusion
So, there you have it—a comprehensive guide on how to choose the right filters for your camera lens! Filters are an essential tool for photographers, helping you control light, enhance colors, and protect your lens. Whether you’re shooting landscapes, portraits, or experimental art, there’s a filter out there that can elevate your photography game. Just remember to choose the right size, think about your shooting needs, and invest in quality gear.Now, what are you waiting for? Get out there and start exploring the world of filters!
all images in this post were generated using AI tools
Category:
Camera GearAuthor:

Pierre McCord
Discussion
rate this article
1 comments
Veda McGhee
Great article! Choosing the right filters can truly enhance your photography. Your clear explanations and practical tips make it easy for both beginners and seasoned photographers to understand the importance of filters. Keep up the fantastic work; your insights are invaluable for anyone looking to improve their craft!
October 26, 2025 at 3:14 AM
Pierre McCord
Thank you so much for your kind words! I'm glad you found the tips helpful. Happy shooting!